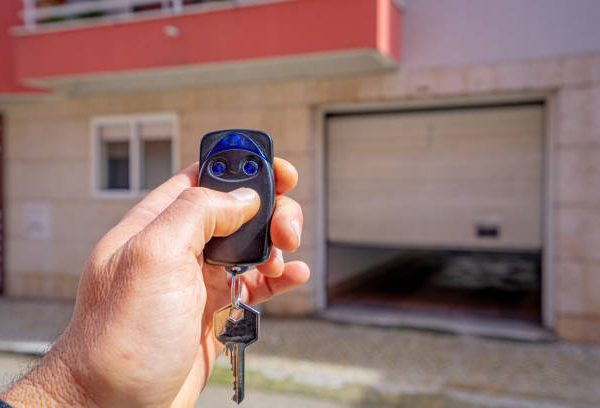
Programming a garage door opener may sound technical, but modern LiftMaster systems are designed to make setup quick and simple. Whether you’re connecting a new remote, syncing a wireless keypad, or pairing your vehicle’s HomeLink system, understanding how to program a LiftMaster garage door opener models can save you time and eliminate unnecessary service calls.
Most LiftMaster garage door openers follow a similar programming process centered around the “Learn” button located on the motor unit. Once you understand how this button works, setting up accessories becomes straightforward.
This complete guide explains step-by-step how to program LiftMaster remotes, keypads, and car systems safely and correctly.
Understanding the LiftMaster “Learn” Button
The most important part of programming any LiftMaster opener is locating the Learn button.
Where is it located?
Usually found:
- On the back or side of the motor unit
- Near the hanging antenna wire
- Behind the light cover in some models
Learn Button Colors Matter
LiftMaster openers use different colored Learn buttons to identify frequency and compatibility.
Common colors include:
- Yellow
- Purple
- Red/Orange
- Green
The color determines which remotes and accessories are compatible with your system.
What You Need Before Programming?
Before starting, make sure you have:
- A compatible LiftMaster remote or keypad
- Access to the garage motor unit
- A ladder if needed
- Fresh batteries in remotes/keypads
For safety, ensure the garage door area is clear before testing.
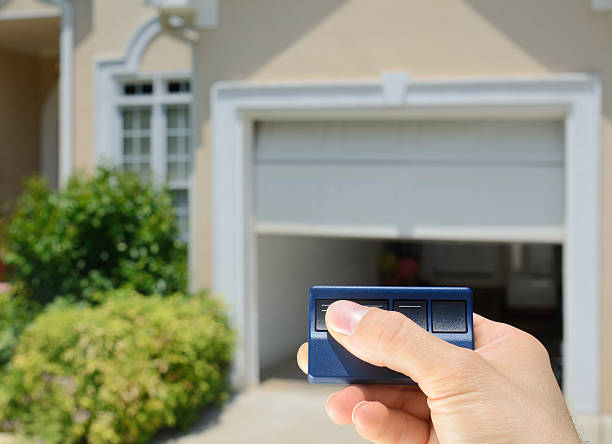
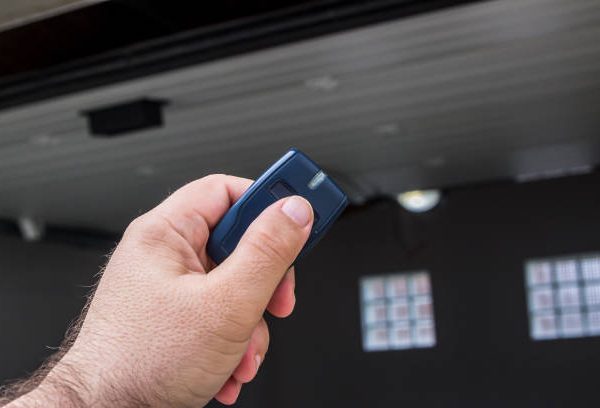
How to Program a LiftMaster Garage Door Remote?
Programming a handheld remote is the most common task homeowners perform.
Step-by-Step Instructions
Step 1: Locate the Learn Button
Find the Learn button on your LiftMaster opener motor.
Step 2: Press and Release the Learn Button
Press the button once quickly.
What happens next:
- The LED indicator light will turn on
- The opener enters programming mode for about 30 seconds
Step 3: Press the Remote Button
Within 30 seconds:
- Press and hold the button on the remote you want to program
- Hold for about 2–3 seconds
Step 4: Watch for Confirmation
The opener lights may:
- Flash
- Click twice
- Activate briefly
This confirms successful programming.

Step 5: Test the Remote
Press the programmed button again to verify operation.
If the door opens or closes properly, the setup is complete.
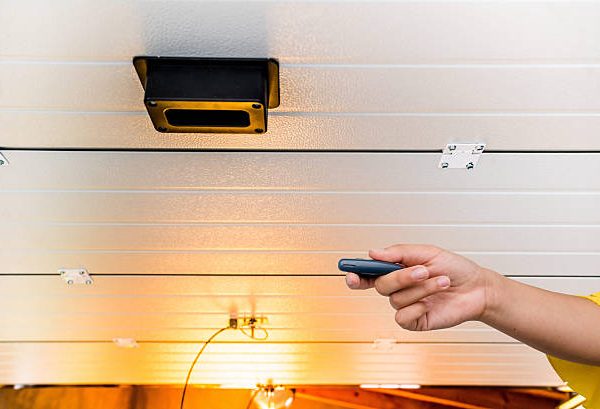
How to Program a LiftMaster Wireless Keypad?
Wireless keypads allow keyless garage access using a PIN code.
Standard Keypad Programming Method
Step 1: Press the Learn Button
Press and release the Learn button on the motor unit.
Step 2: Enter Your PIN
Within 30 seconds:
- Enter your desired 4-digit PIN on the keypad
Step 3: Press and Hold Enter
Hold the Enter button until:
- The garage lights flash
- You hear clicking sounds
This confirms programming.
Alternative No-Ladder Method
Some newer LiftMaster keypads support programming without climbing.
Steps:
- Press and hold * and # together
- Wait until the keypad light stays solid
- Enter your desired PIN
- Press Enter
- Press the Learn button on the opener
- Re-enter PIN and press Enter again
This method is common on modern wireless keypad systems.
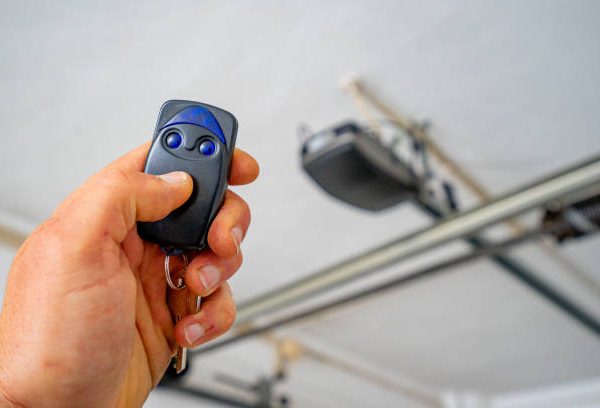
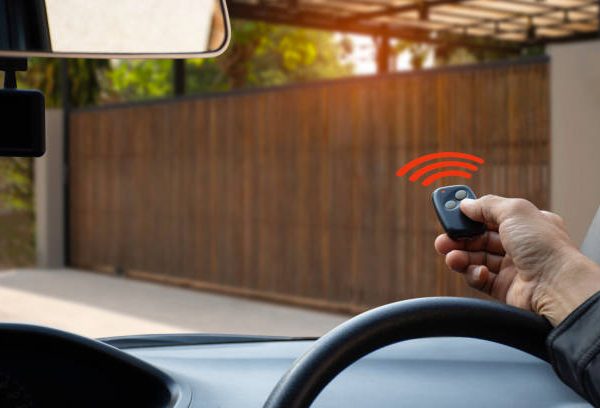
How to Program LiftMaster With HomeLink (Vehicle Buttons)
Many vehicles include built-in garage buttons called HomeLink.
Learning how to program a LiftMaster garage door opener systems with HomeLink is useful because it eliminates the need for separate remotes.
Step 1: Clear Existing HomeLink Codes
Inside your vehicle:
- Press and hold the two outside HomeLink buttons
- Hold until the indicator flashes rapidly
This clears previous programming.
Step 2: Enter Learn Mode on LiftMaster
Go to your garage opener:
- Press and release the Learn button
You now have about 30 seconds to complete setup.
Step 3: Train the Vehicle Button
Return to your car and:
- Press and hold the desired HomeLink button
- Hold for 2–3 seconds
- Repeat up to 3 times if necessary
The garage door should activate once pairing succeeds.
Important Note for Security+ 2.0 Systems
Newer LiftMaster systems using Security+ 2.0 technology may require:
- Pressing the vehicle button multiple times
- Waiting for the garage lights to flash before repeating
This is normal behavior for rolling-code security systems.
How to Reset a LiftMaster Garage Door Opener?
Sometimes you may need to erase all remotes and start fresh.
Common reasons include:
- Lost remotes
- Moving into a new home
- Security concerns
Full Reset Instructions
Step 1:
Locate the Learn button.
Step 2:
Press and hold it for about 6–10 seconds.
Step 3:
Release when the LED light turns off.
This erases:
- All remotes
- Keypads
- Vehicle programming
You’ll need to reprogram devices afterward.
Troubleshooting Common Programming Problems
If programming fails, several issues may be responsible.
Dead Remote Batteries
Weak batteries are one of the most common problems.
Fix:
Replace batteries before troubleshooting further.
Wrong Remote Compatibility
Your remote must match the Learn button frequency.
Fix:
Verify compatibility with your opener model.
Signal Interference
Nearby electronics or LED lighting may interfere with programming.
Fix:
Try programming with lights turned off or from a closer range.
Missed Programming Window
LiftMaster Learn mode expires after about 30 seconds.
Fix:
Repeat the process promptly.
Safety Tips When Programming
Always follow basic garage door safety precautions.
Important reminders:
- Keep children away from moving doors
- Never stand directly under the door during testing
- Use stable ladders when accessing the opener
- Disconnect power before servicing hardware
What About MyQ Smart Garage Systems?
Many newer LiftMaster openers include MyQ smart connectivity.
With MyQ, you can:
- Open and close doors remotely
- Monitor garage activity
- Receive smartphone alerts
Programming MyQ usually involves:
- Downloading the app
- Connecting to Wi-Fi
- Following in-app setup instructions
How to Find Your LiftMaster Model Number?
If you’re unsure about compatibility or setup instructions:
Model numbers are typically located:
- On the side of the motor housing
- Under the light cover
- Near the Learn button sticker
Knowing the exact model helps identify compatible accessories.
Final Thoughts
Learning how to program a LiftMaster garage door opener systems is much easier than most homeowners expect. Whether you’re syncing a remote, setting up a wireless keypad, or connecting your car’s HomeLink buttons, the process usually takes only a few minutes.
The key is understanding the Learn button system and following the programming sequence carefully. With proper setup, LiftMaster garage door openers provide secure, convenient, and reliable access to your garage for years to come.